Pathologic 2
Blender Model Tutorial
Update
You can now download the models through this Google Drive folder. Thank you to RoarkAnimations (Youtube, Twitter) for archiving these and allowing me to share them with everyone.
I've also added the Bachelor's retail model (different from the alpha model that rotten-eye had ripped), the Webley revolver, General Block, and the Polyhedron to that folder.
Summary
These pages contain information on how to download, unpack, set up, pose, and render rotten-eye's Pathologic 2 models in Blender.
If you'd like, you can also view the Pathologic 2 Character Turntables I've made using these models.
You can also view this tutorial as one page.
Table of Contents
- Software needed
- Downloading and Unpacking Models
- Setting Up Models in Blender
- Posing
- Rendering
- Output Settings
- Setting up Cameras
- Lighting with HDRIs / World Shader Nodes
- Animating a Turntable
- Rendering the Turntable
- Looping Turntables in Davinci Resolve
Lighting with HDRIs / World Shader Nodes
To add lighting, we'll have to edit the world environment. You can set up lamp objects if you'd like, but using the world environment / HDRIs is more simple and not as computationally heavy.
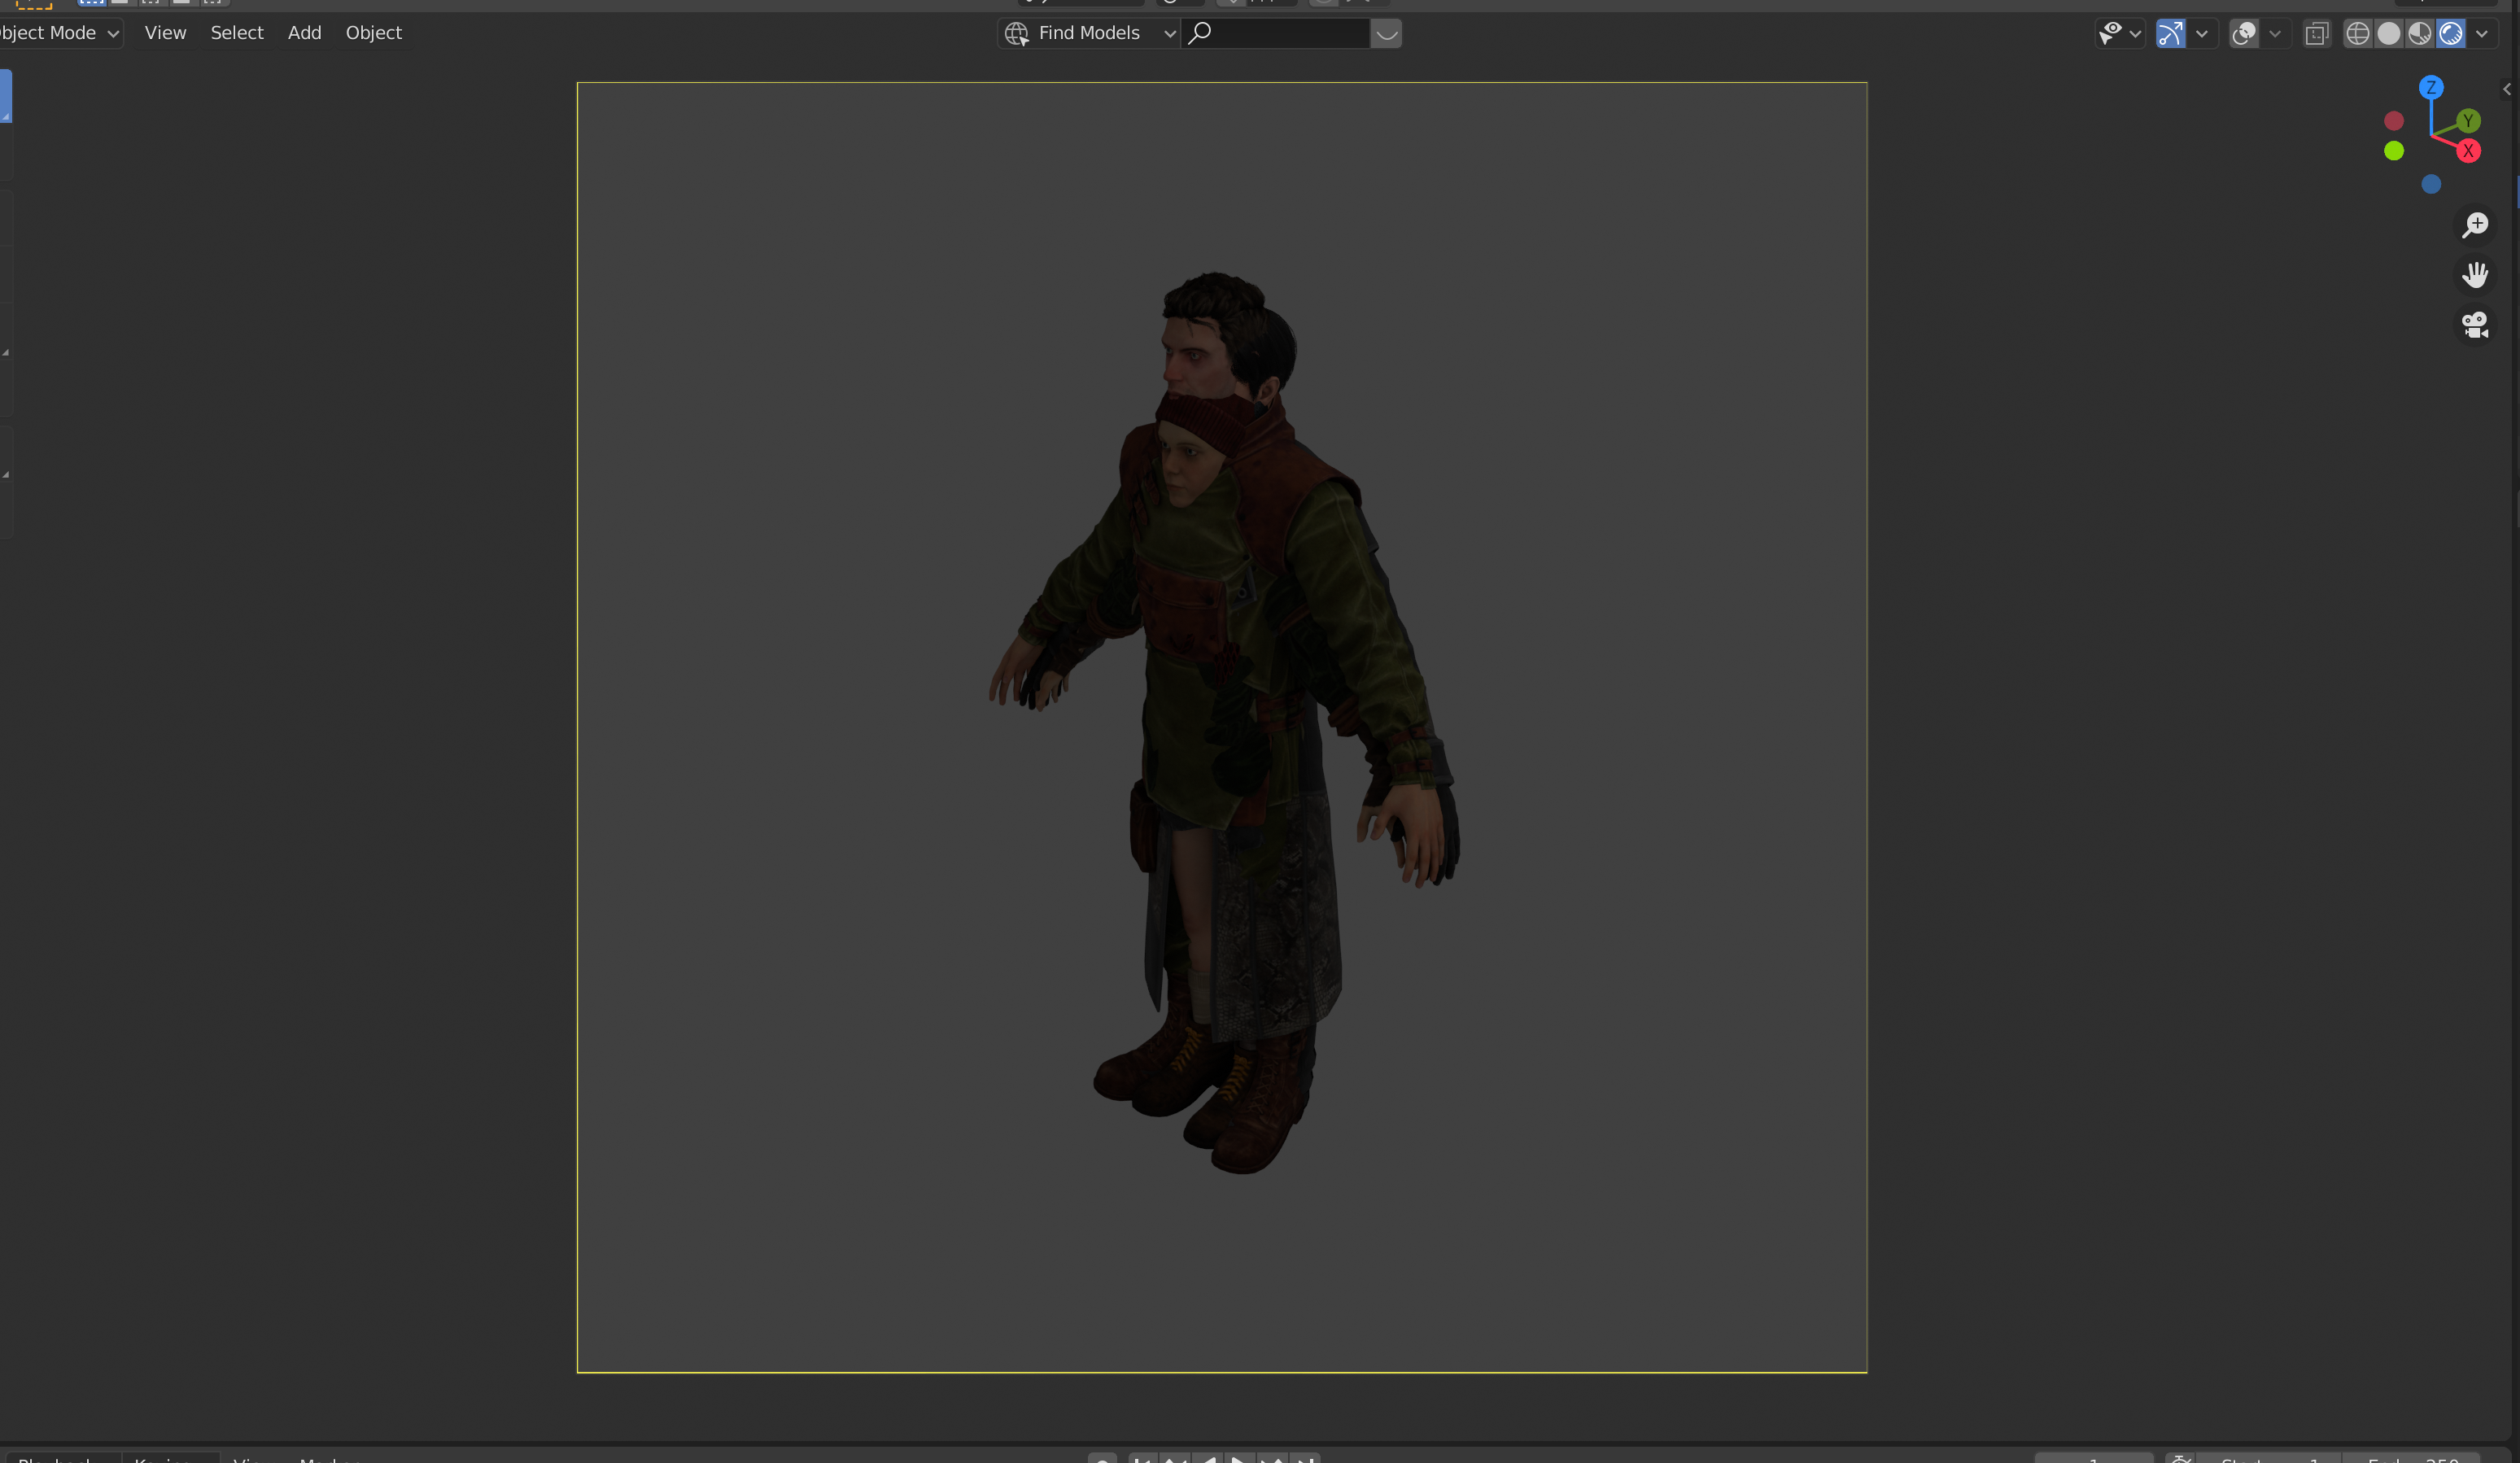
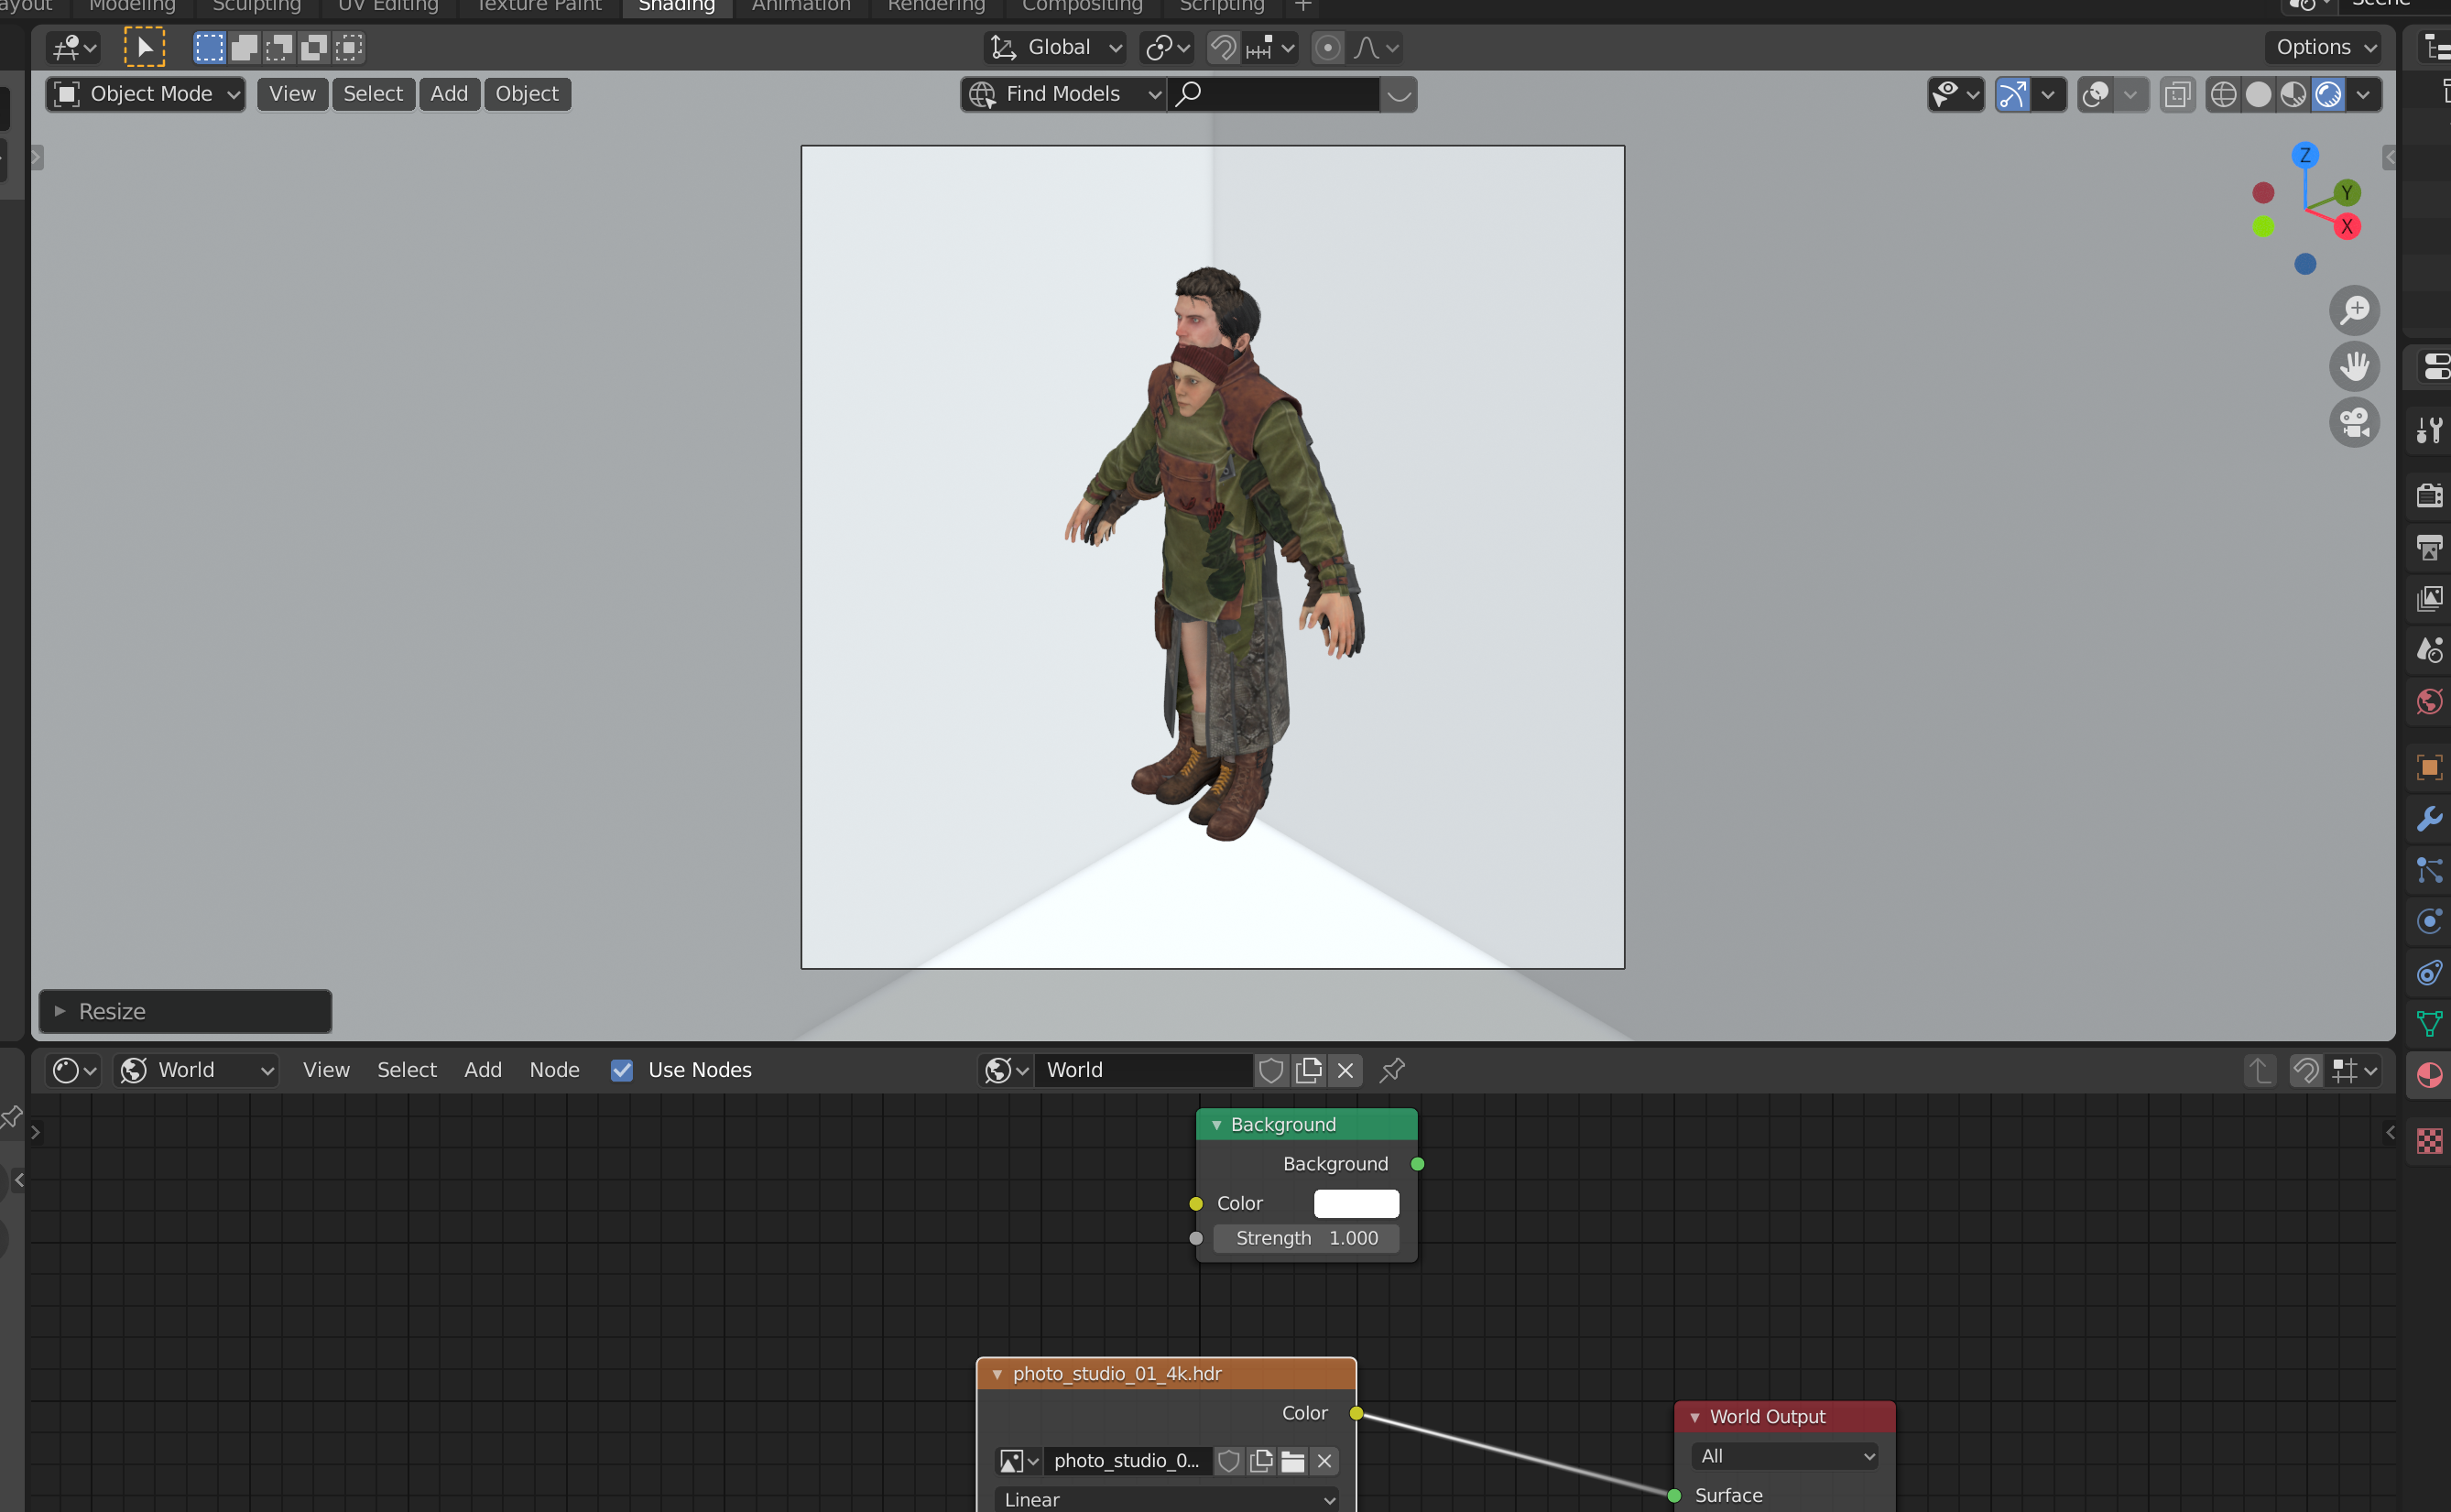
First, we can view how the render will look like by going to the top-right of the 3D Viewport and selecting Rendered View. It's the very last sphere icon. We can also toggle off overlays by pressing the button with the two circles (the third one.)
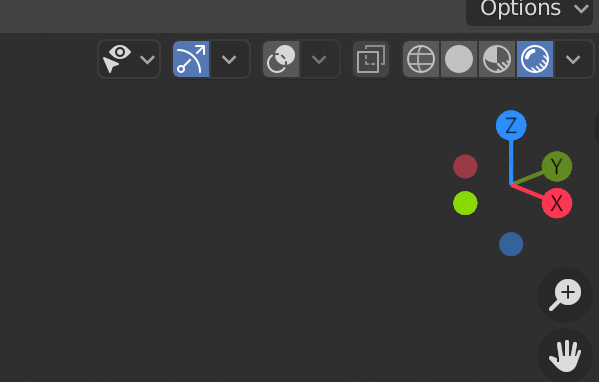
The view is pretty dark right now, because we don't have any lights, and the world environment is rather dark. To change this, as well as getting a custom background color, we're going to mess with nodes again.
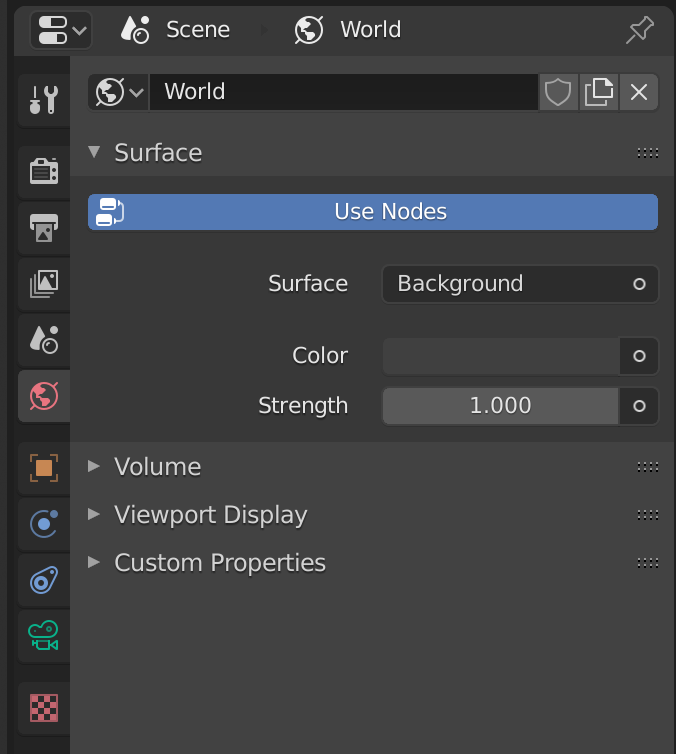
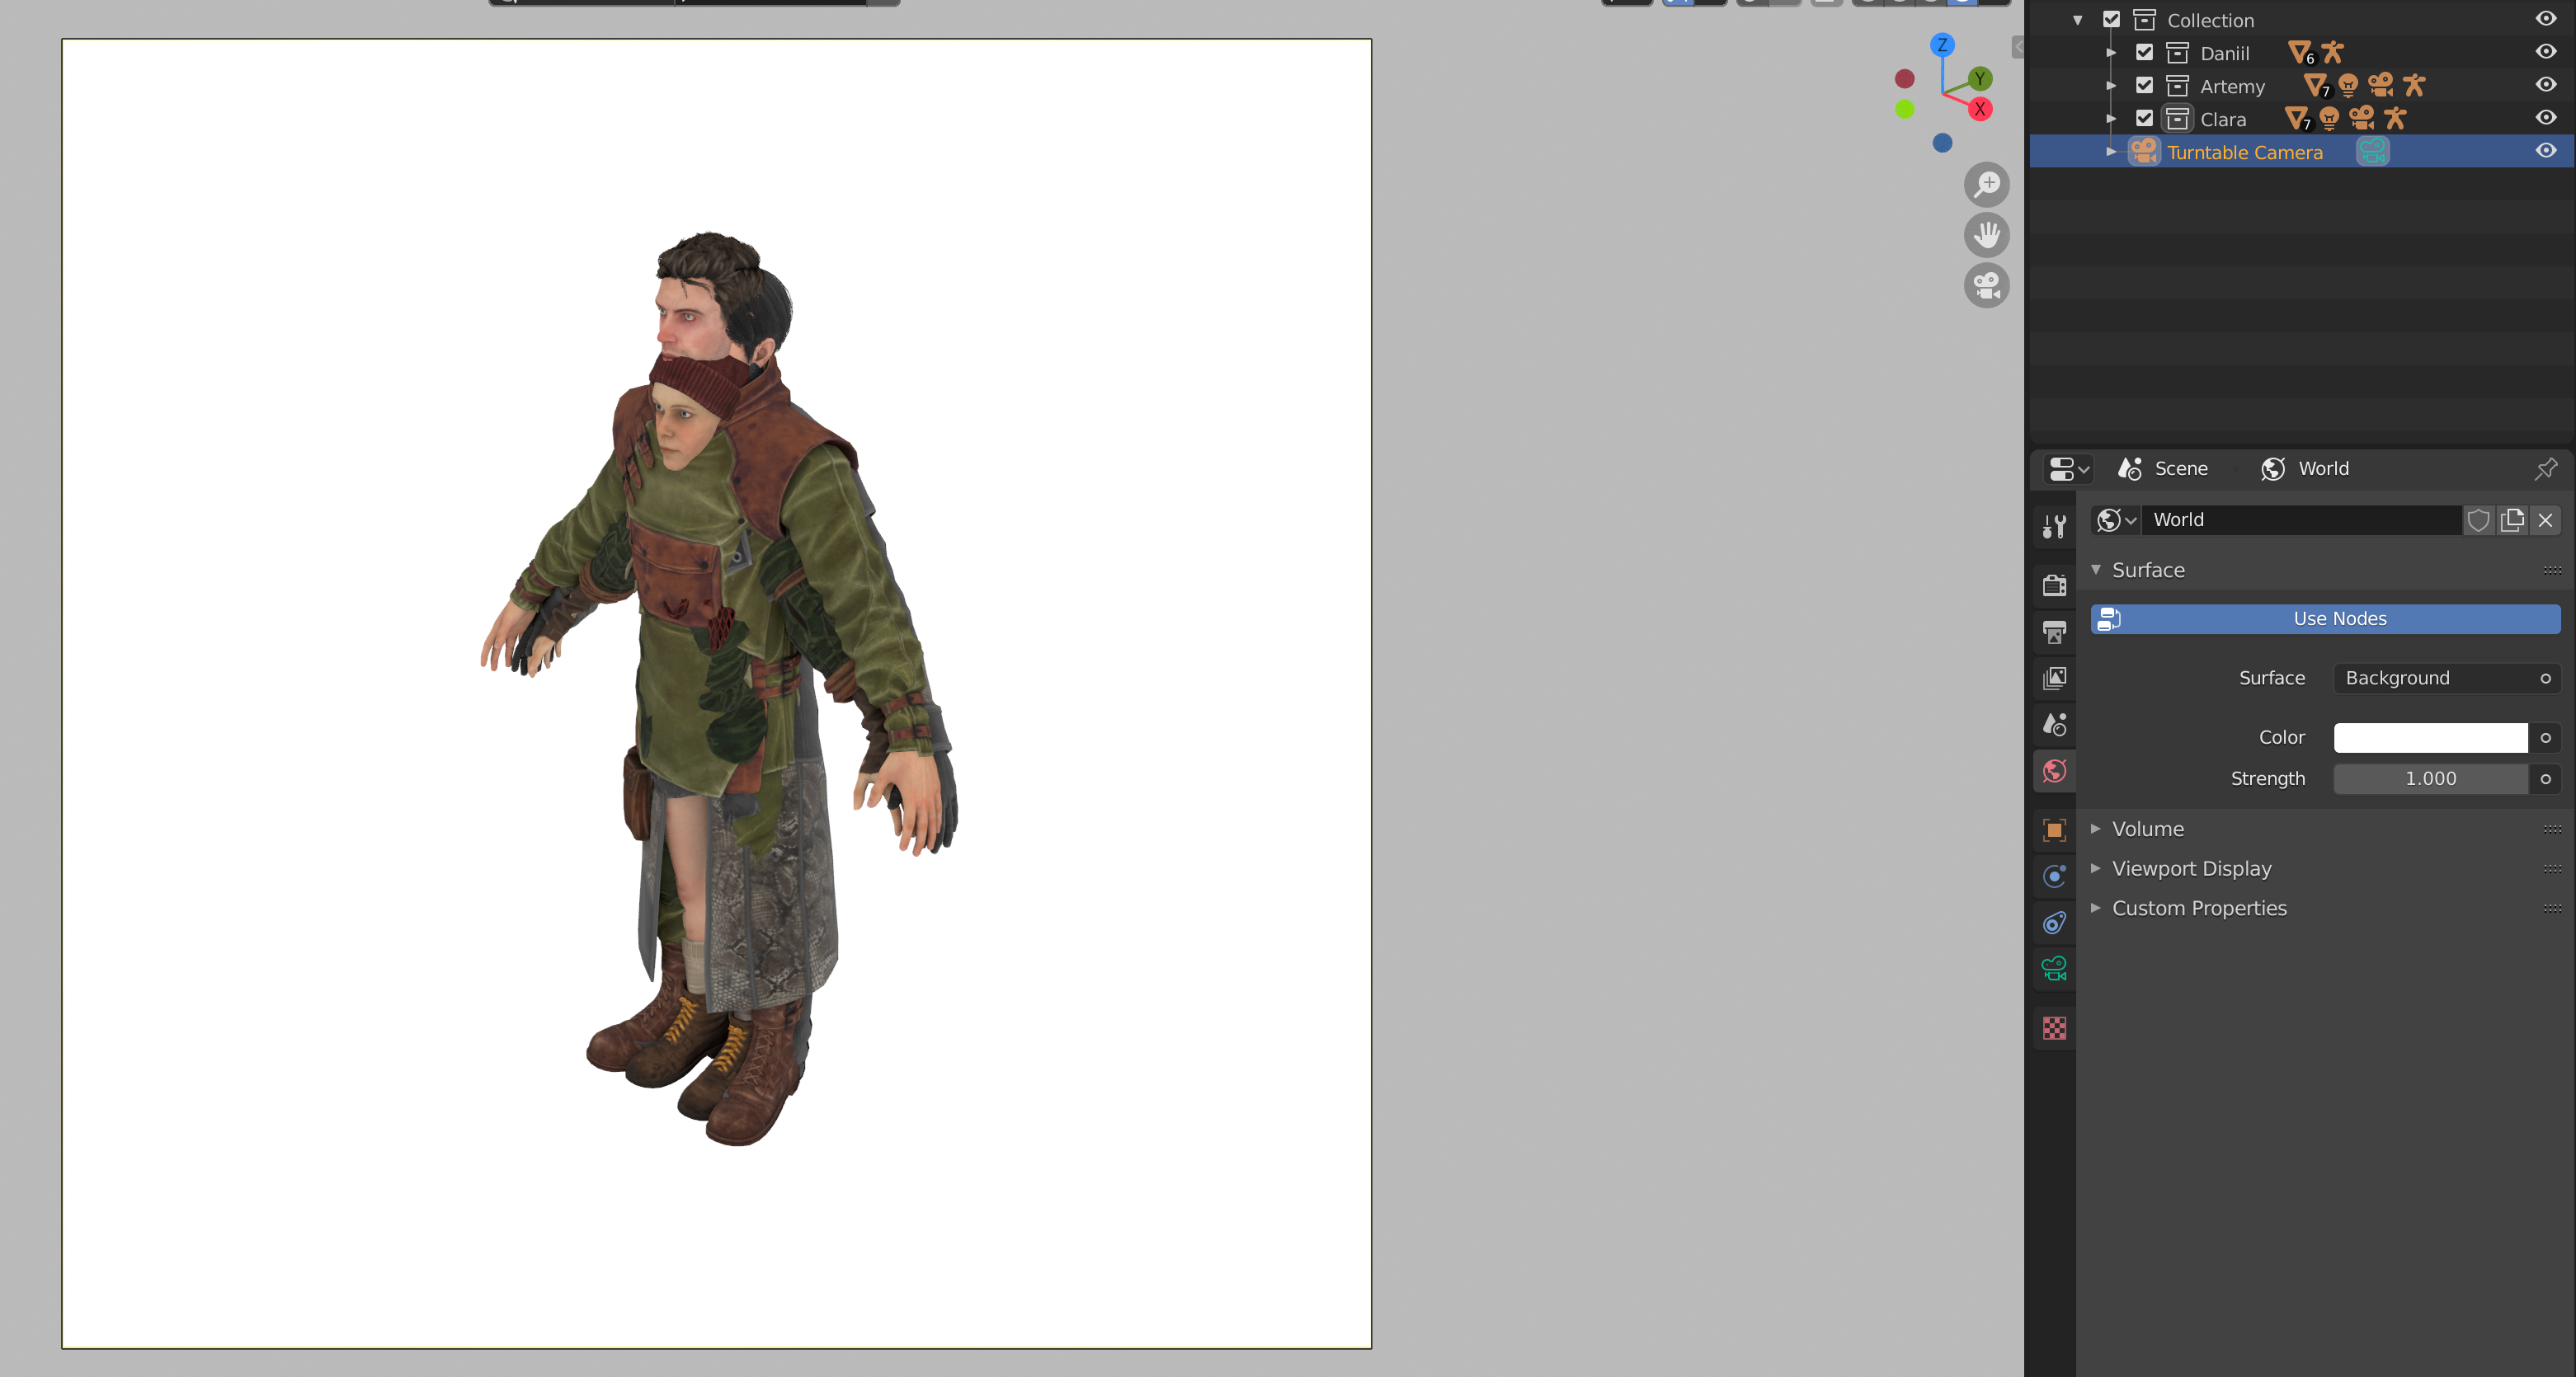
In the World Properties tab (pink globe icon), there is a Surface Color option that we can change in order to make the scene brighter. We can set this to white.
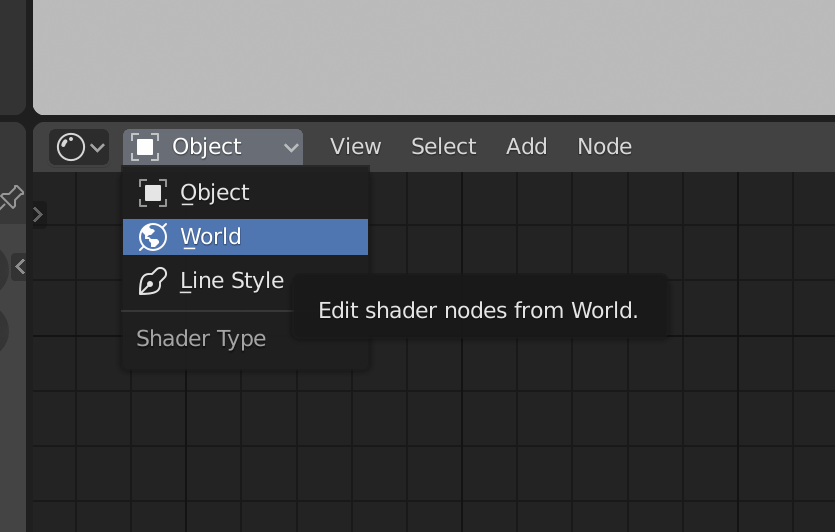
If you'd like to add an HDRI or mess with other World settings, you can head to the Shading workspace. It's at the center of the same toolbar we added the Shading workspace before. Here, in the top-left section of the node editor, you can toggle from Object to World.
The world nodes might not be immediately visible: You can zoom out with the scrollwheel, or pan around by holding down the scrollwheel and dragging your mouse around until you find them.
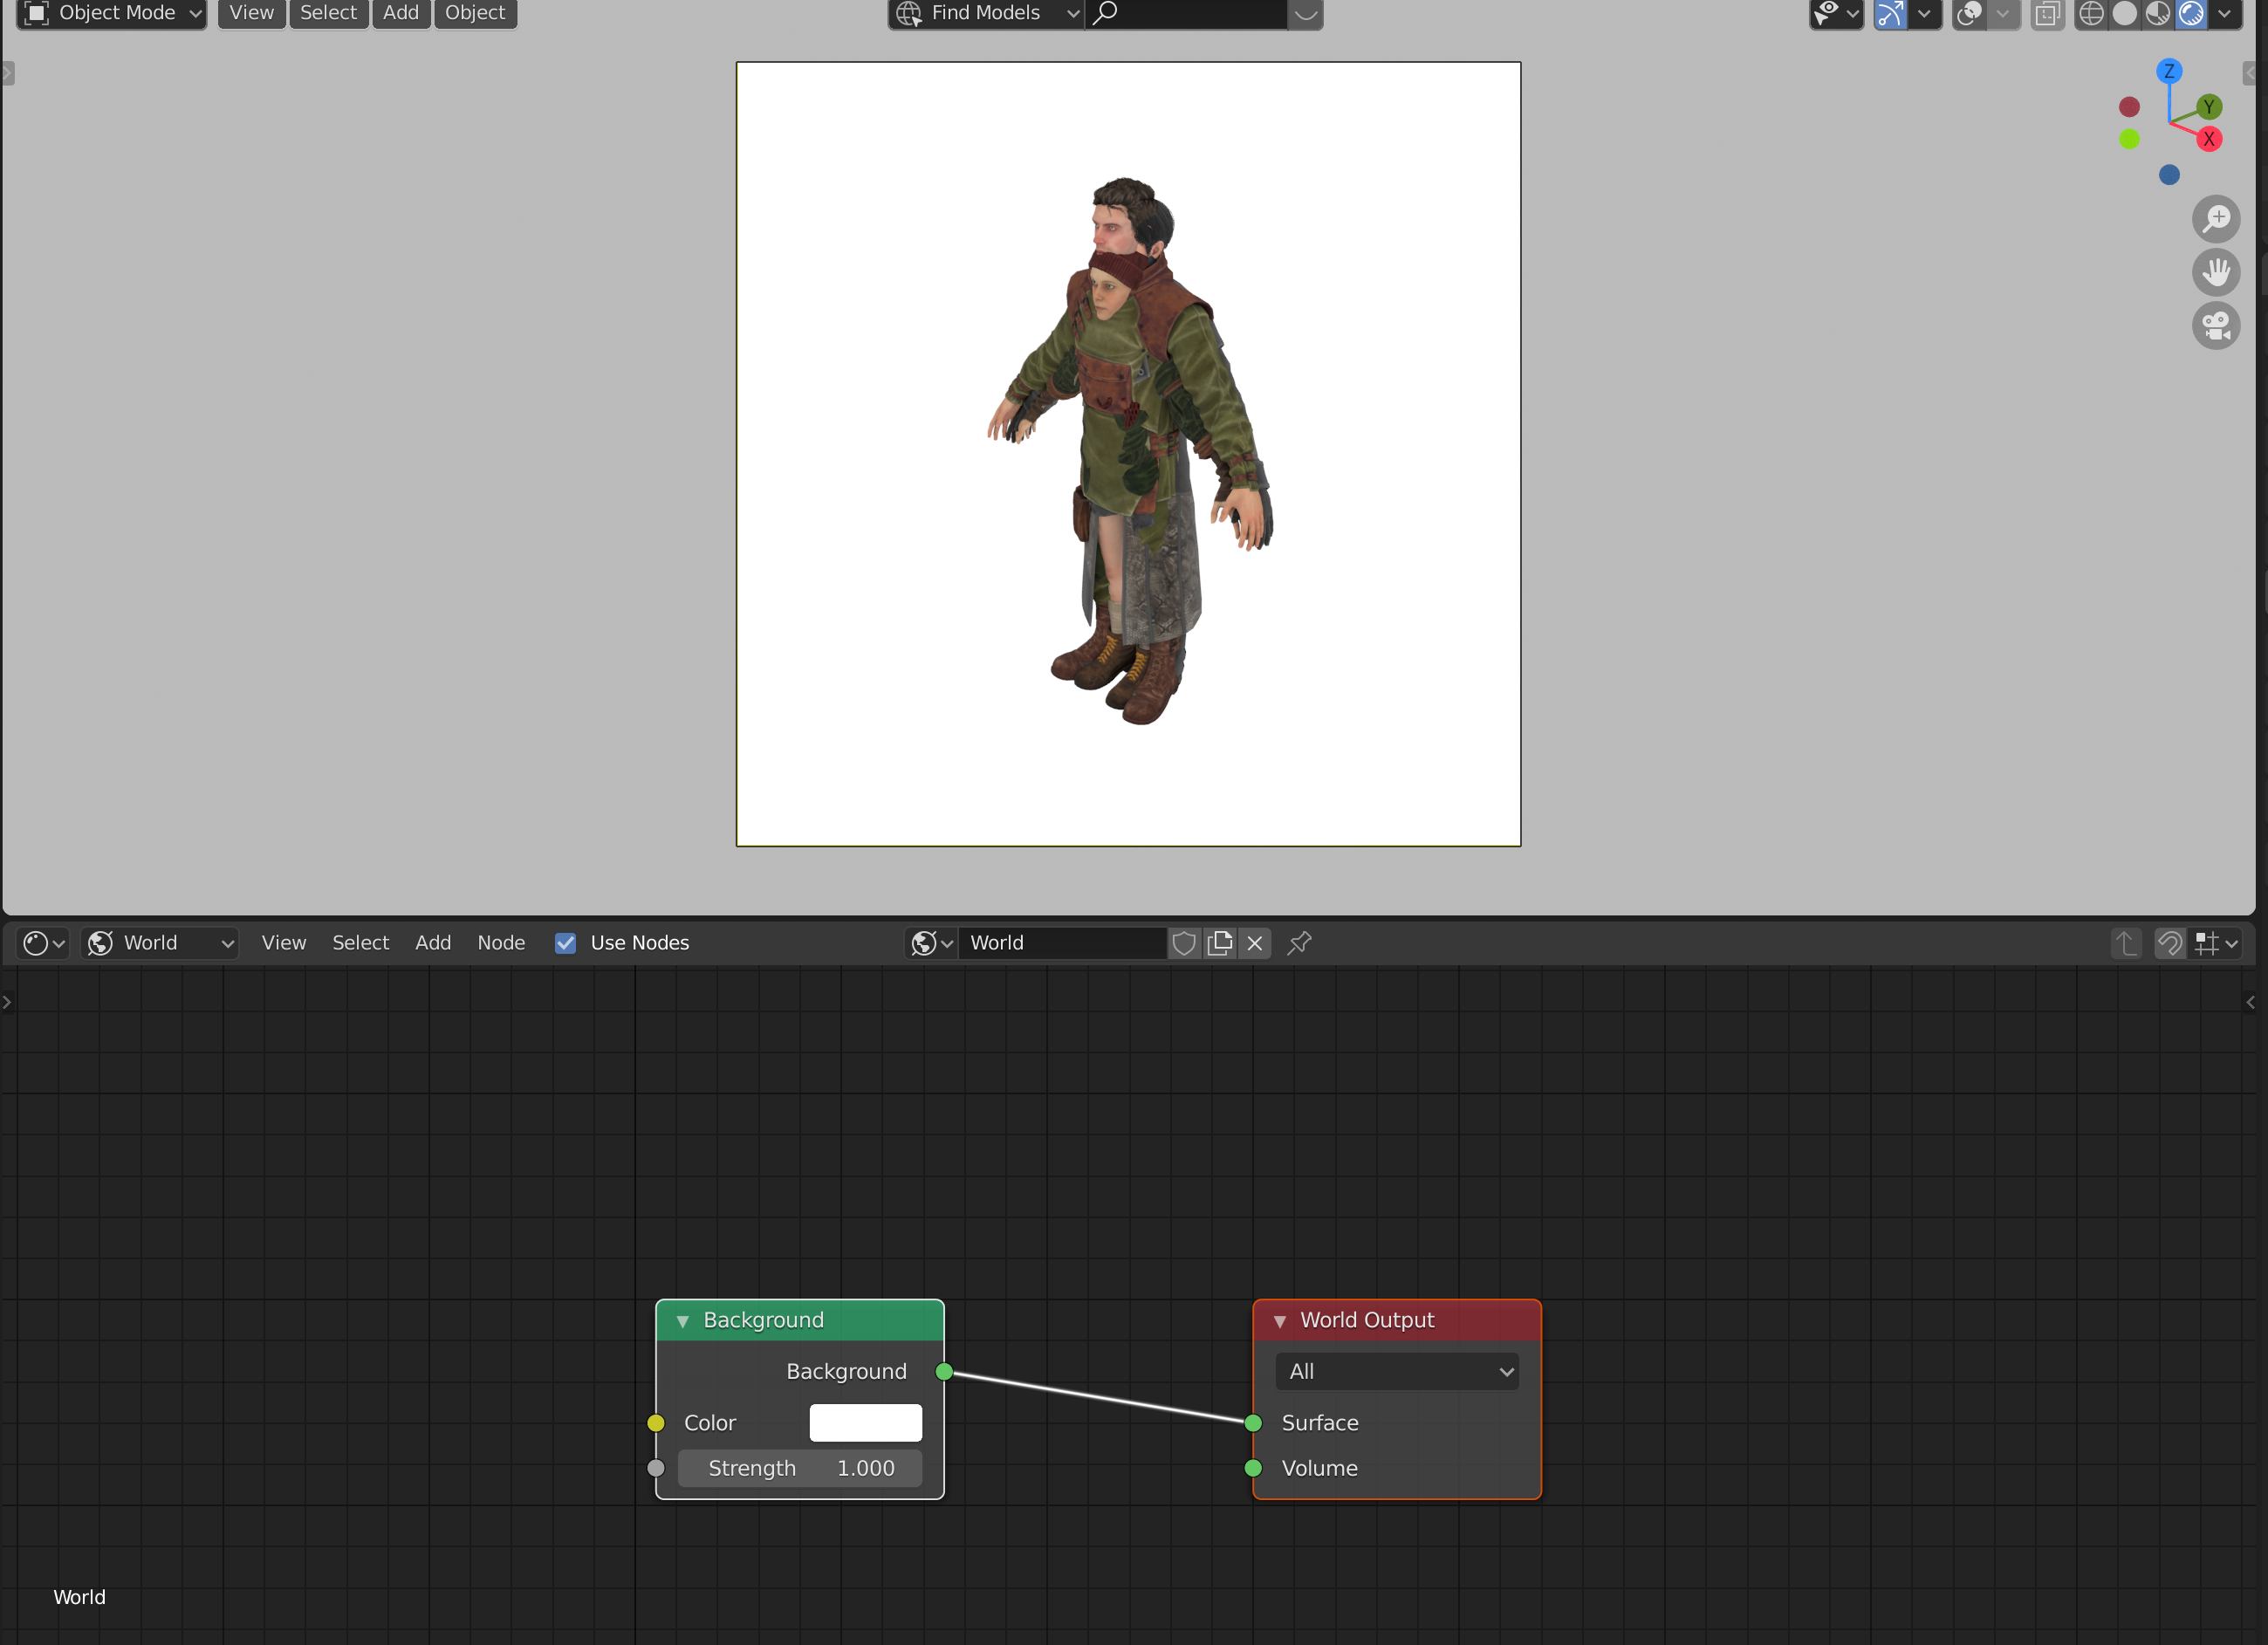
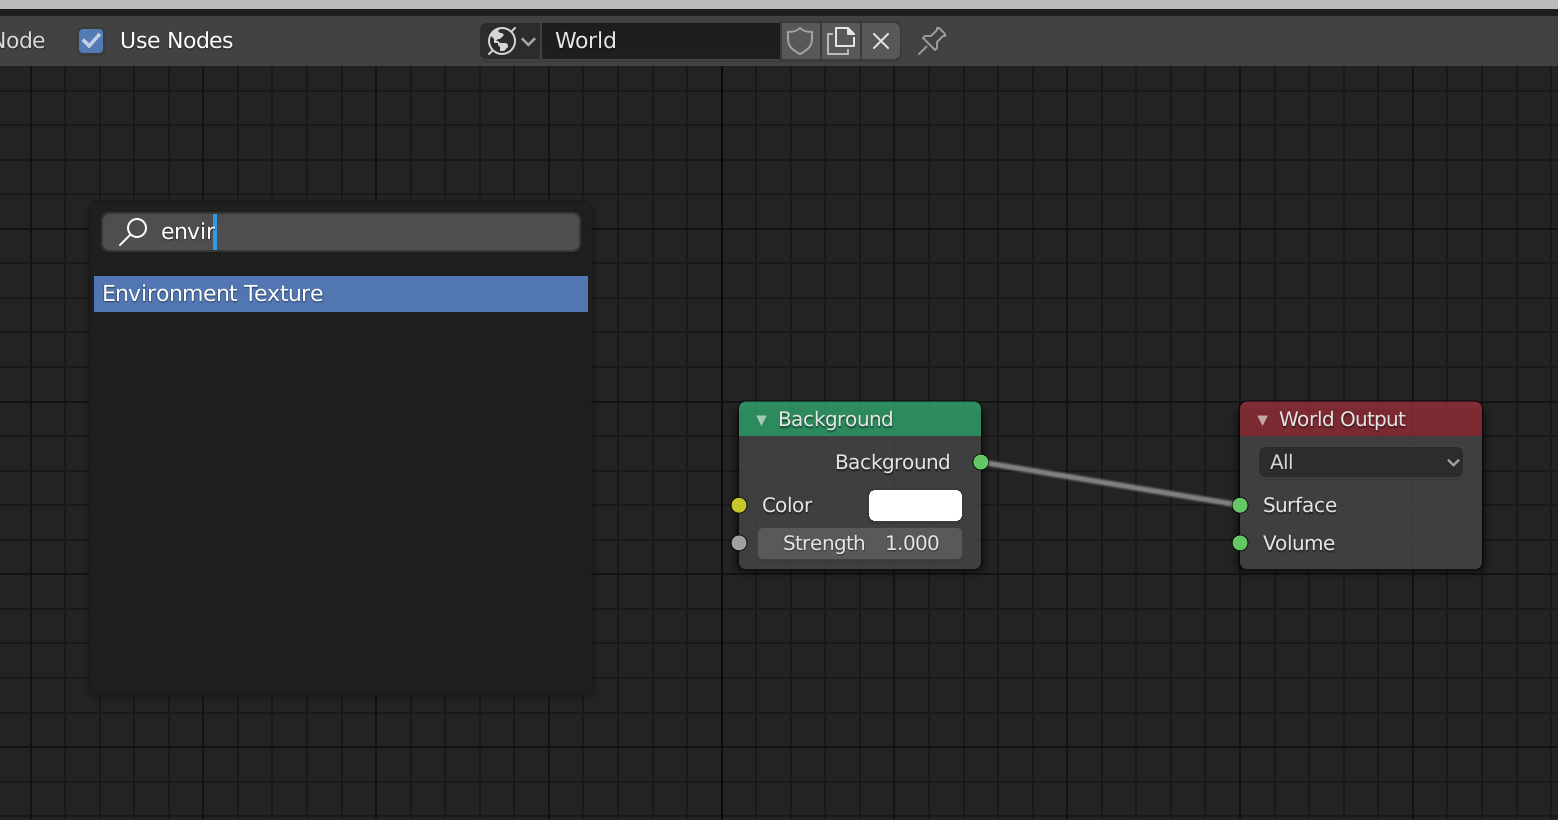
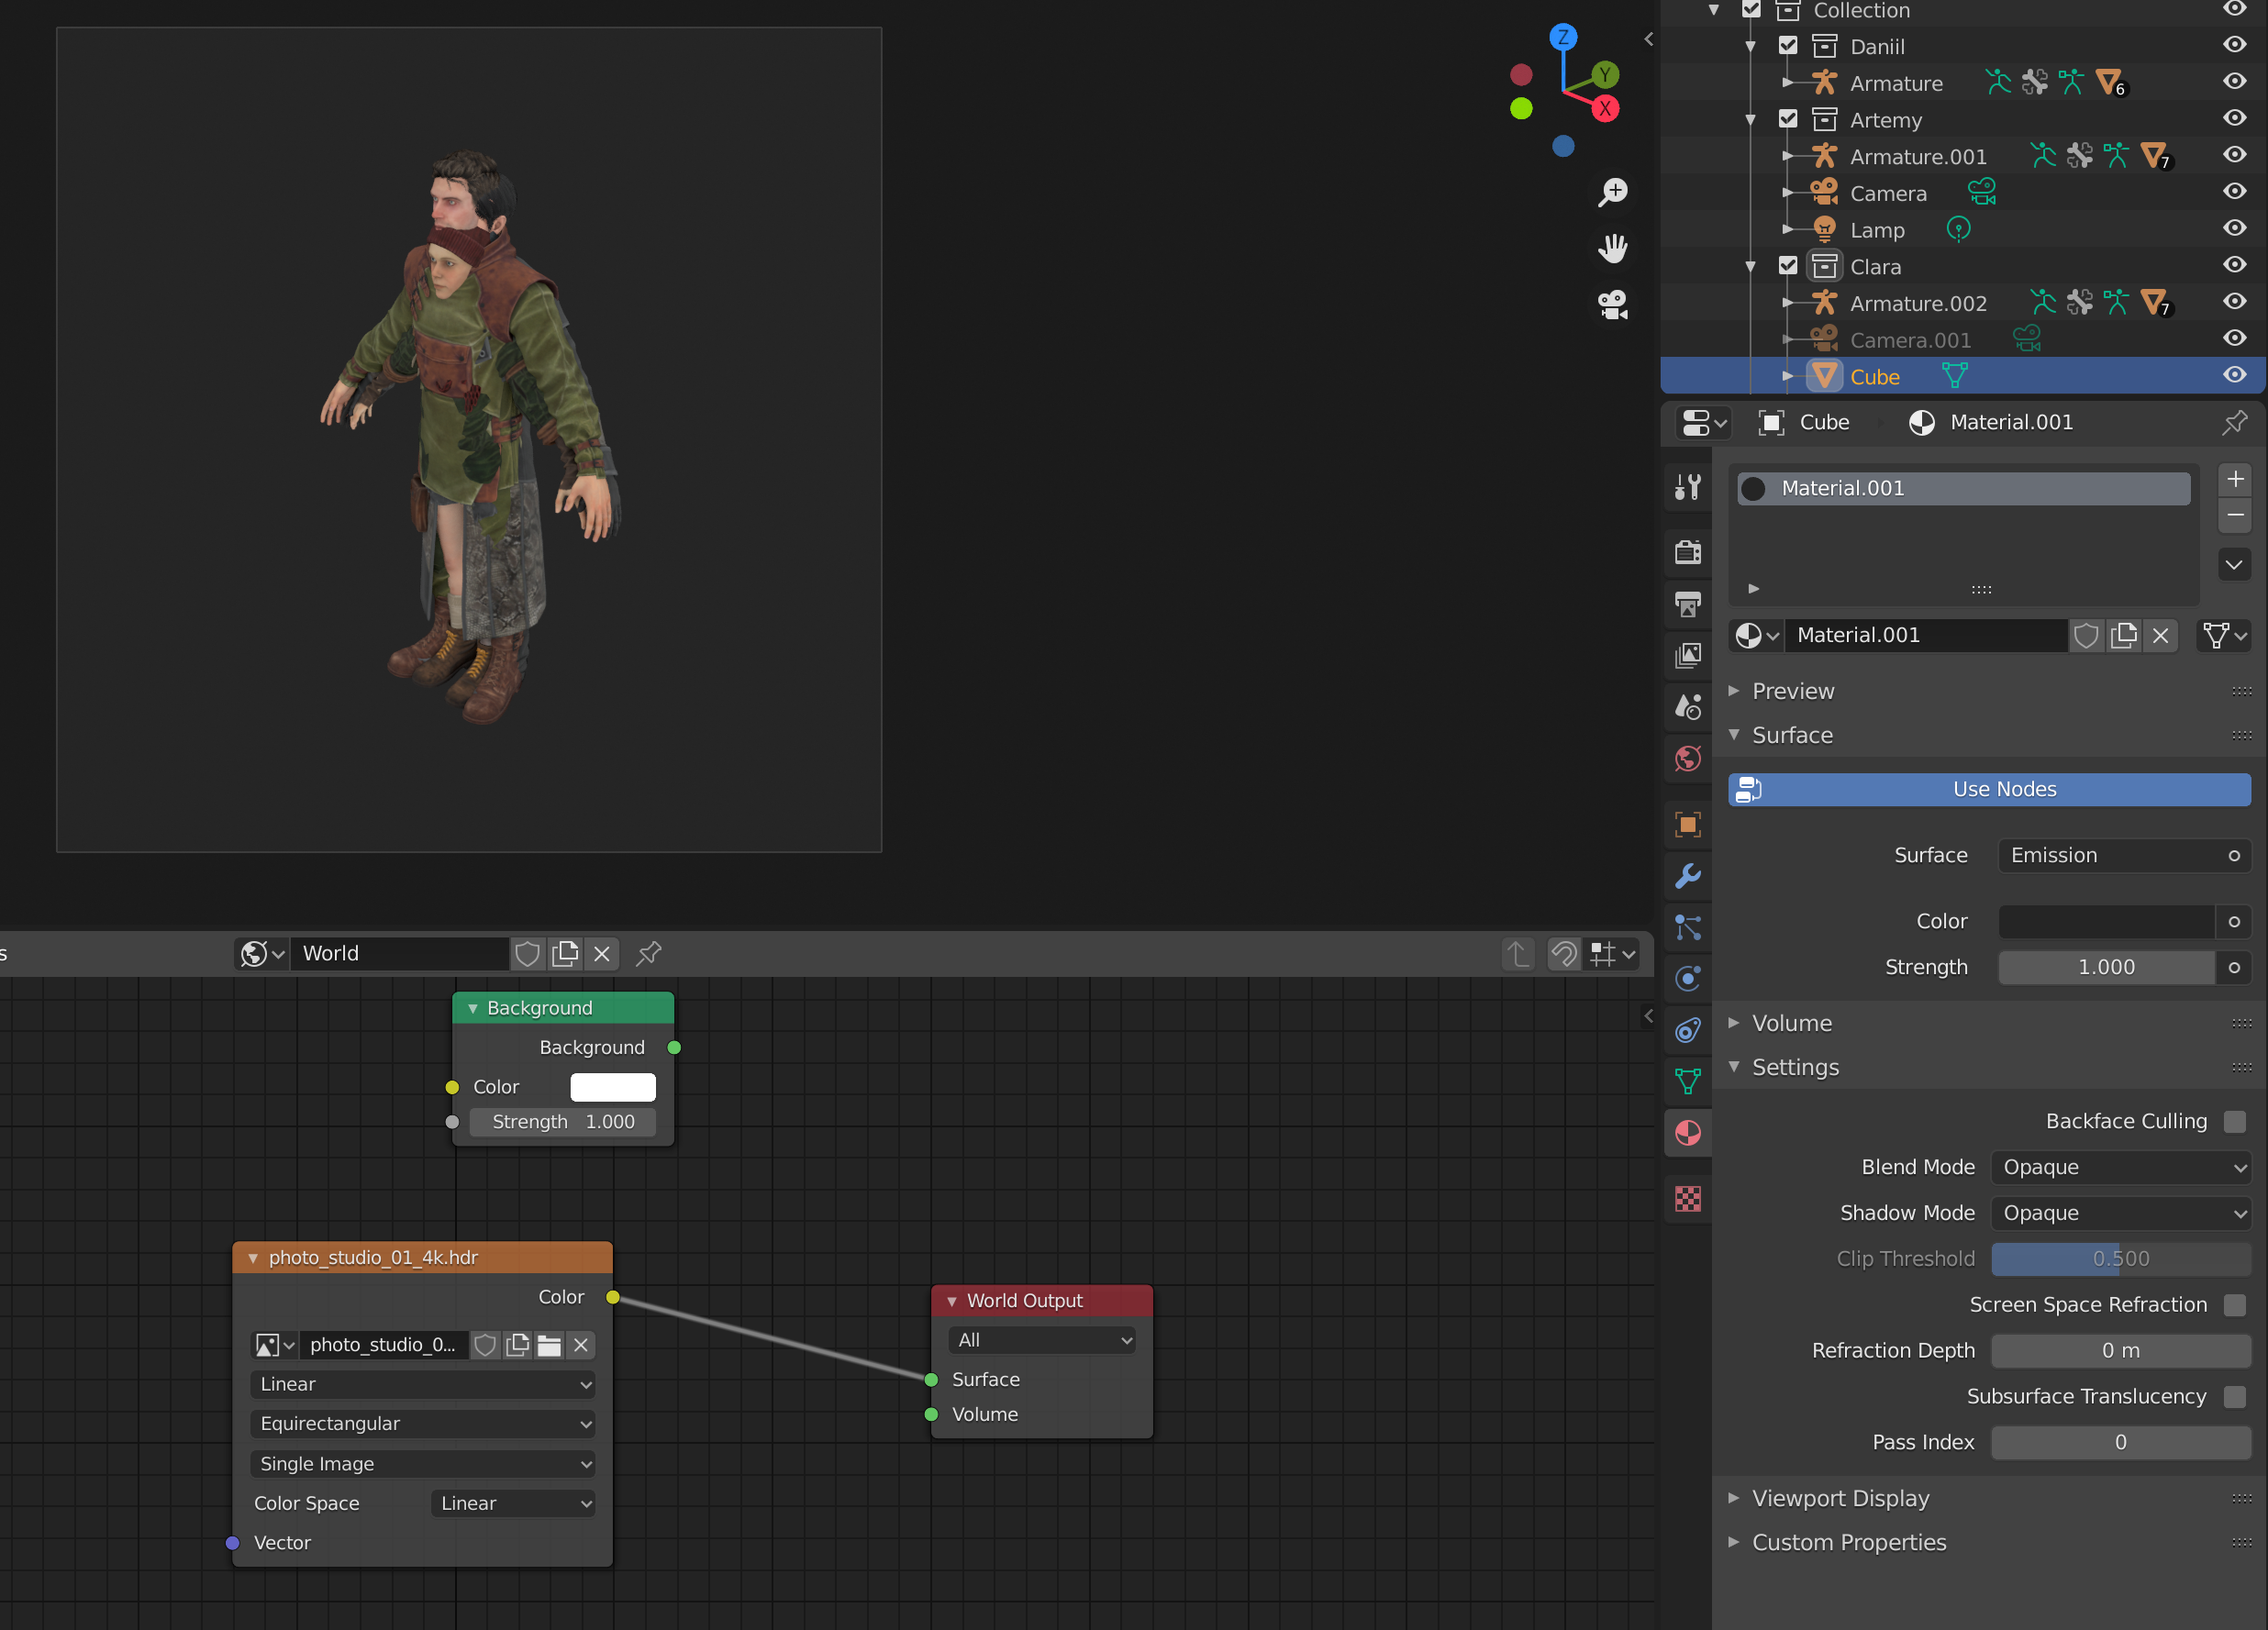
You can add any HDRIs you've downloaded by first pressing shift + A, clicking on search, and typing Environment Texture. Then, you can select your HDRI by pressing the Open button and finding it on your computer. Next, you can disconnect the Background node from the World Output by clicking and dragging on the green Surface input on the World Output. You can now connect the yellow Color output from the HDRI to the green Surface node on the World output.
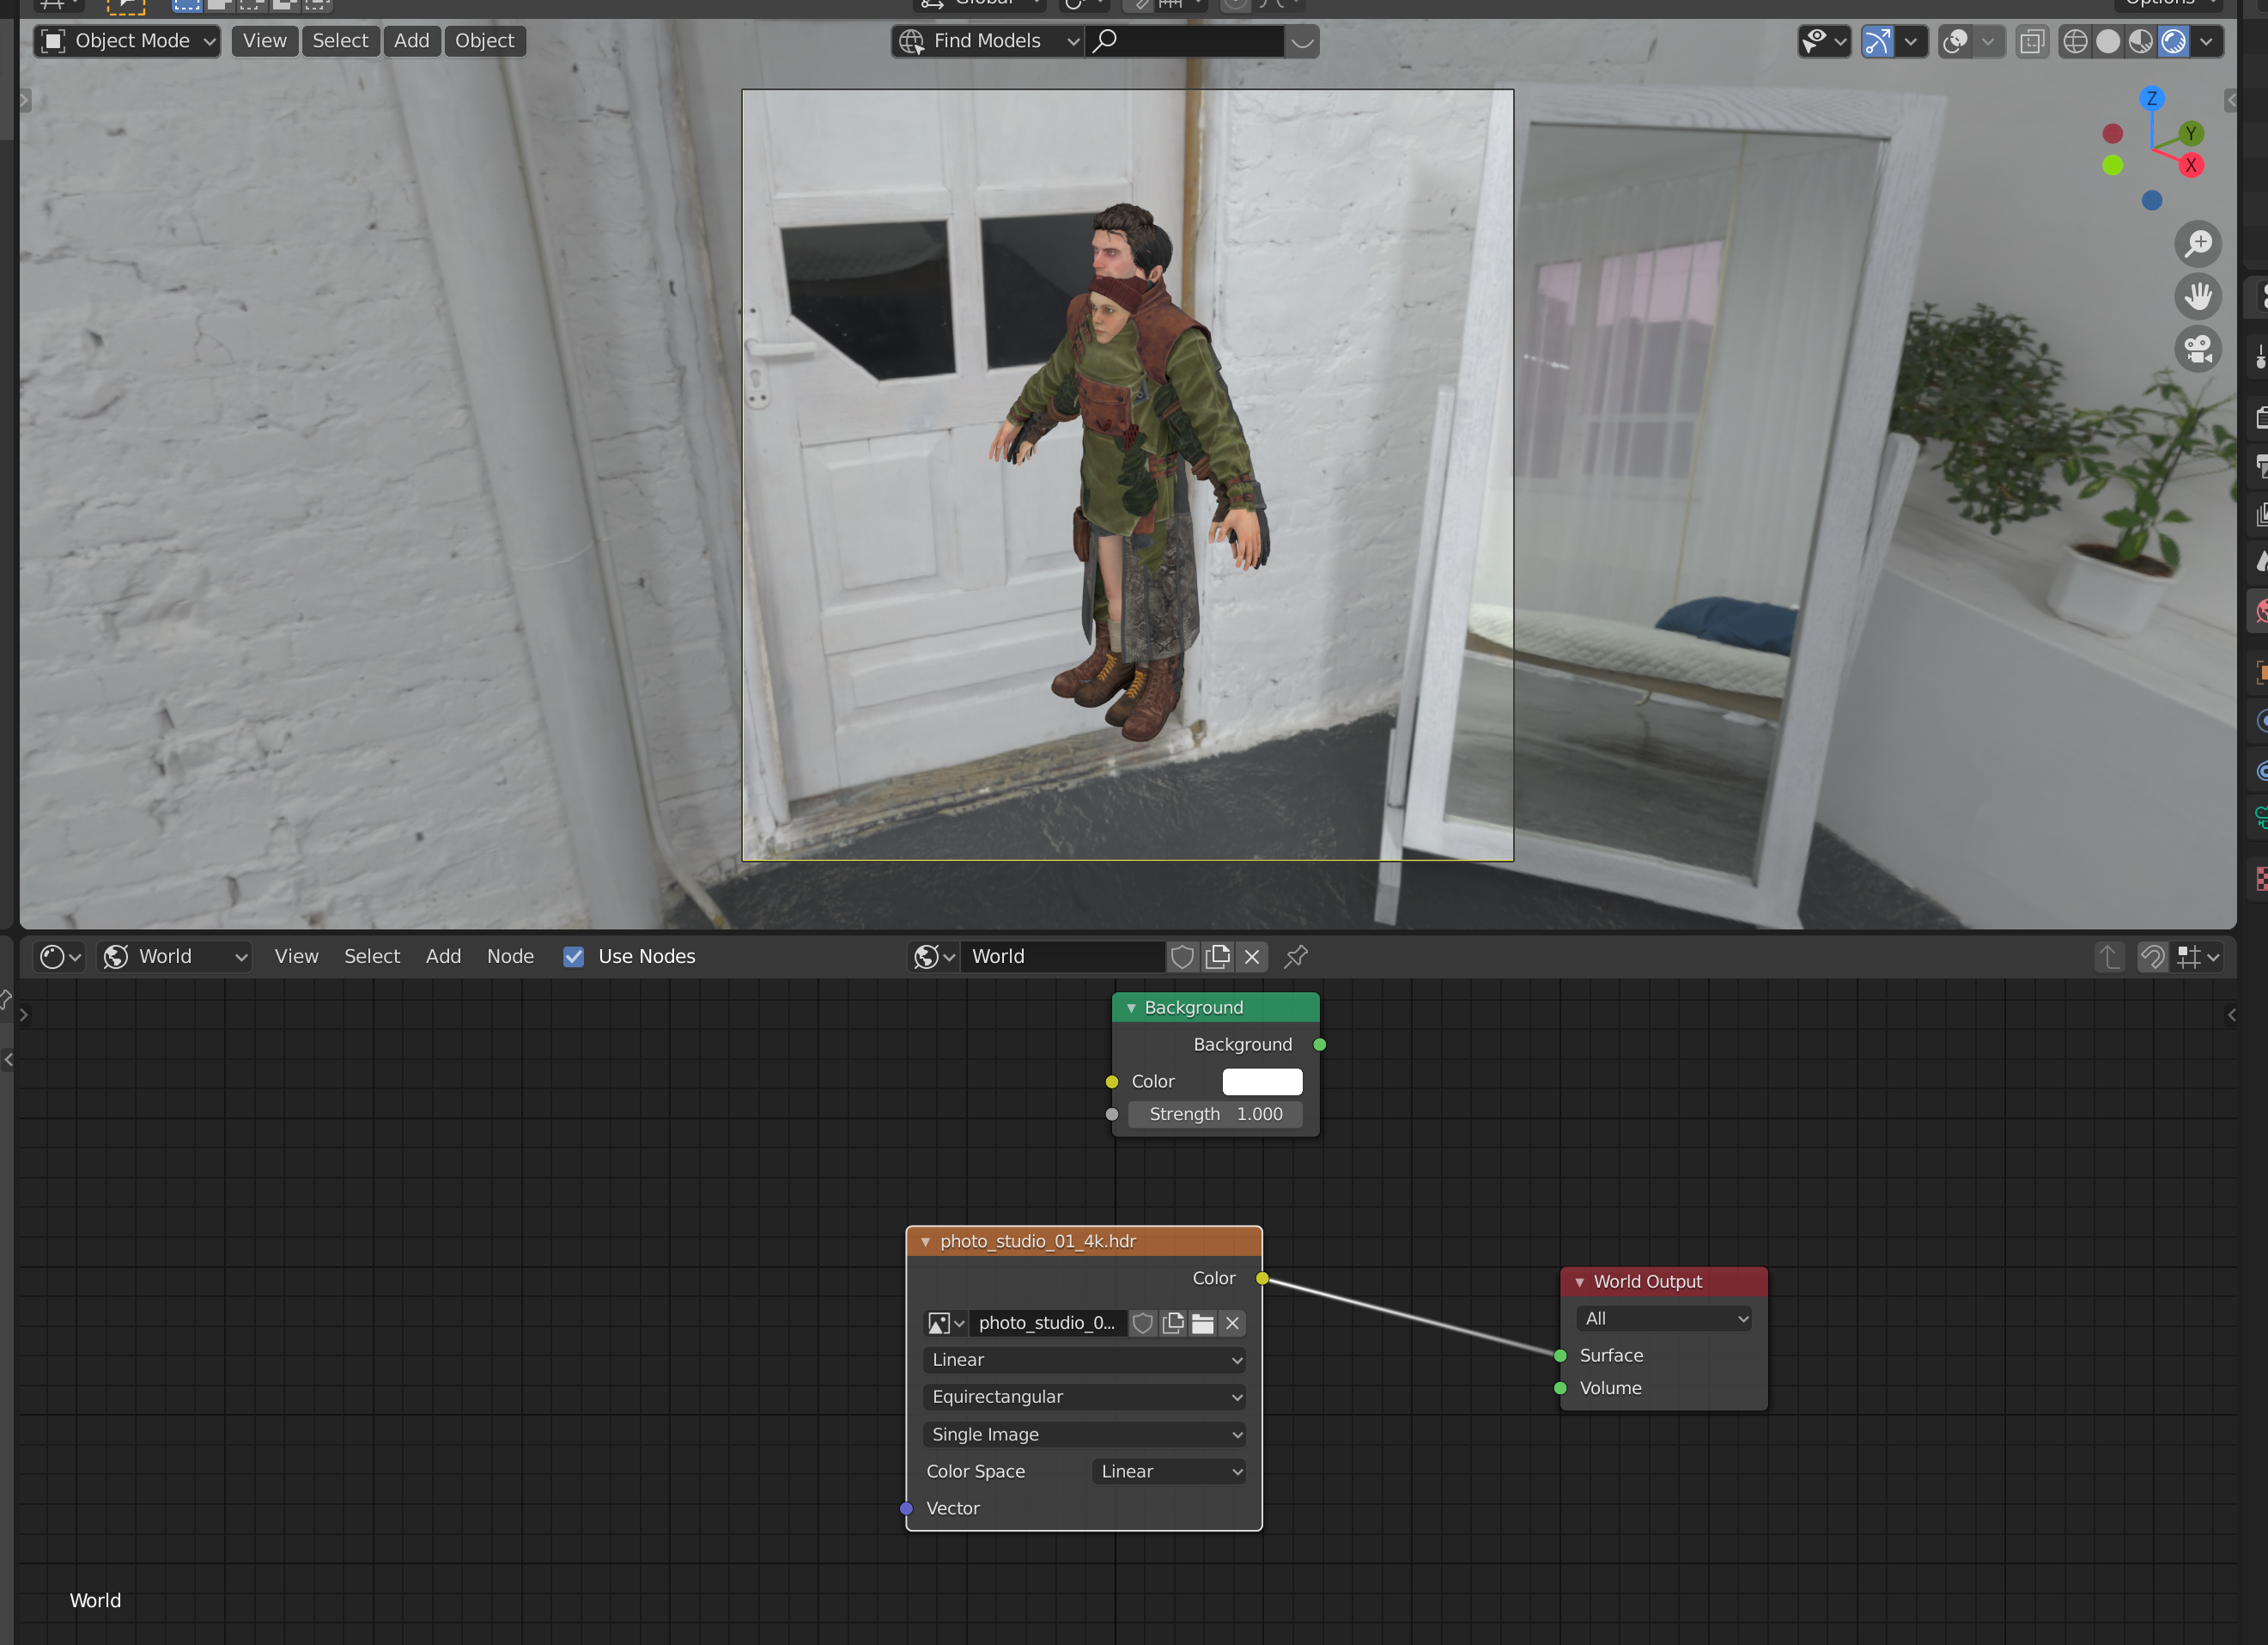
You can get more dramatic effects with different HDRIs. However, one issue with using HDRIs (and the Background node as well) is that we can't change the background without also affecting the lighting.
The quickest way to get a custom flat color is to place a large cube with a material that does not affect or is affected by lighting conditions. For this, an emission material works best. Press shift + A with your mouse in the 3D Viewport, and select "Cube" under Mesh.
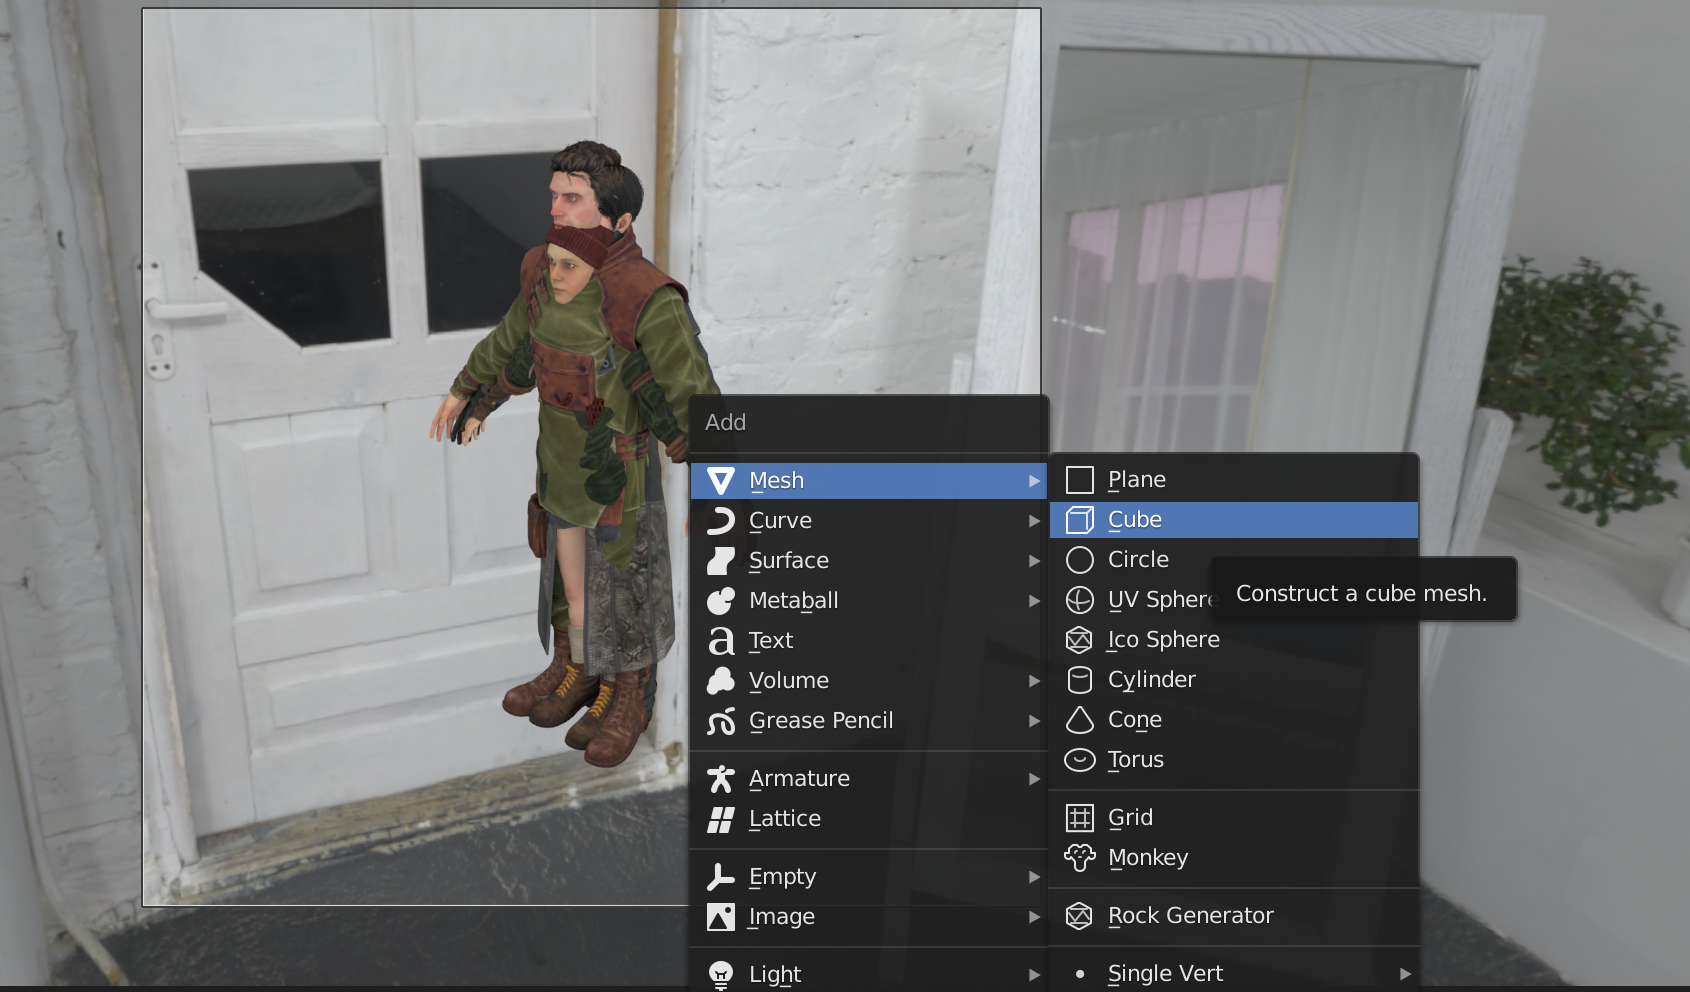
You can scale the cube by using the resize menu at the bottom left of the 3D Viewport, and changing the size to something like 5. You can also press S to Scale, and click inside of the viewport to commit the size change.
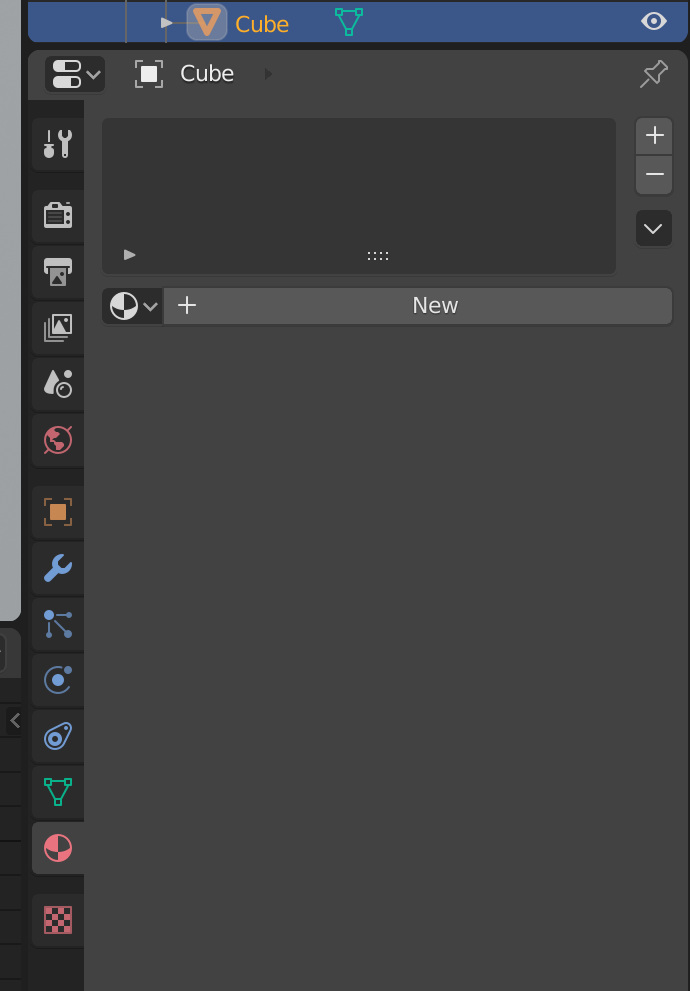
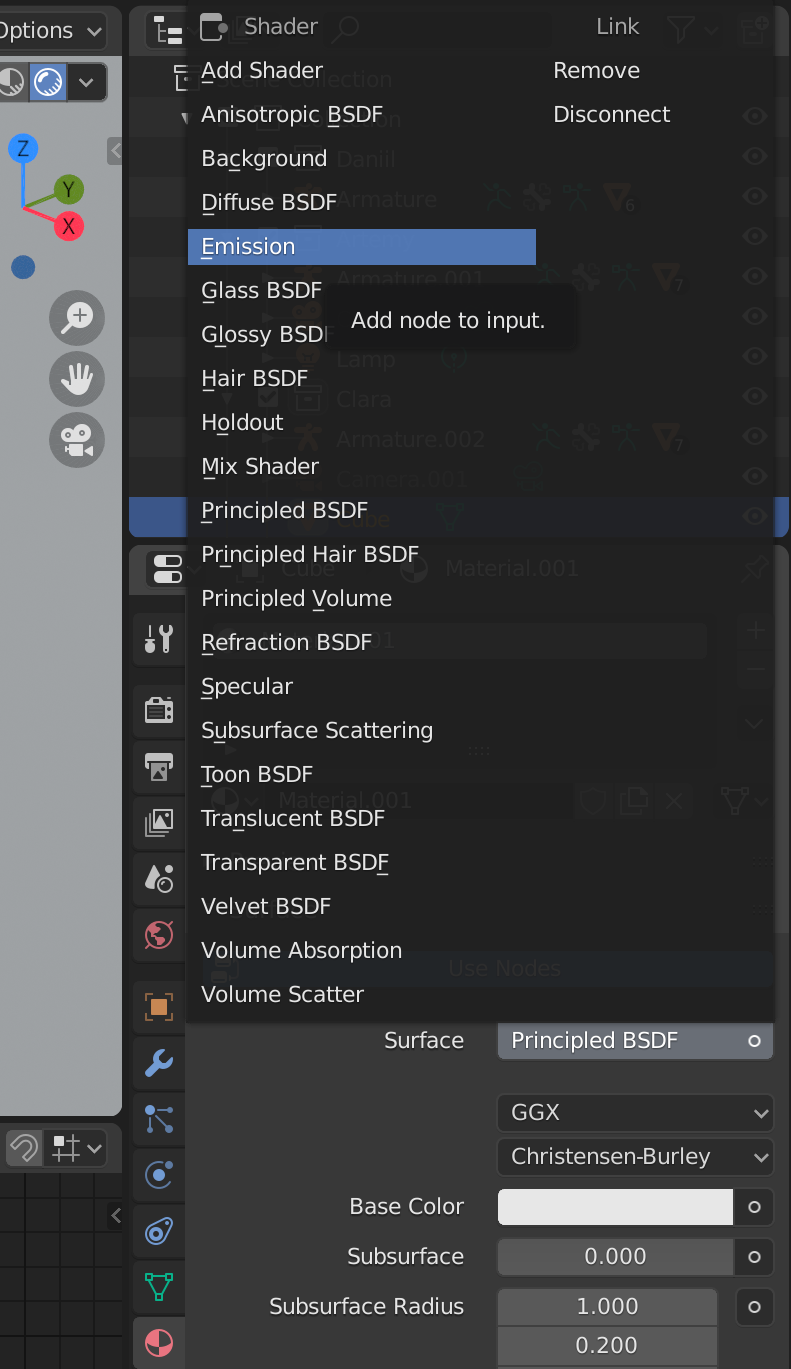
To give it an emission material, go to the Material tab (pink sphere with checkerboard pattern), and add a new material. Then, change the Surface from "Principled BSDF" to "Emission". Now, we can change the emission material color to whatever we like without affecting the lighting on the models.
You can also create a flat plane, rotate it at the same angle as the camera (rotation X: 66.4°, rotation Y: 0° rotation Z: 45°), scale it large, and position it far enough away from the camera and models so that nothing clips. A cube assures that you will have the flat color anywhere you look, but a plane can have certain applications.
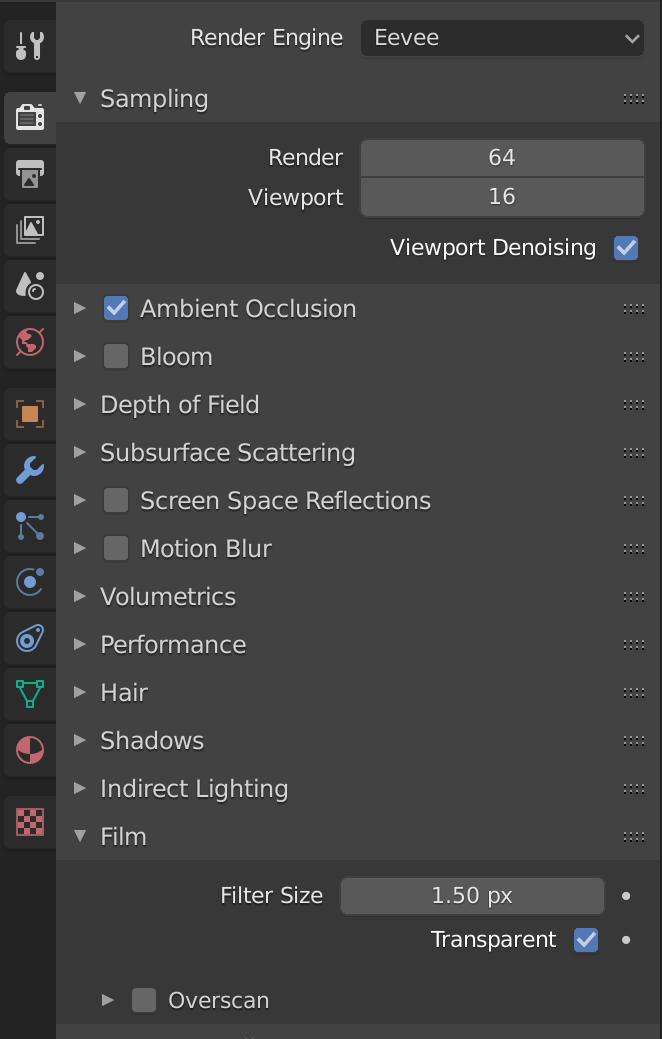
If you'd like to render the models with a transparent background, you can go to the Render Properties (second tab down, icon looks like the back of a camera), and under Film, select "Transparent".
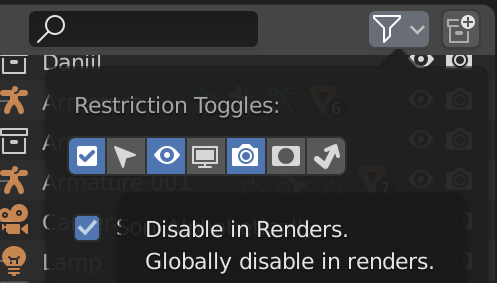
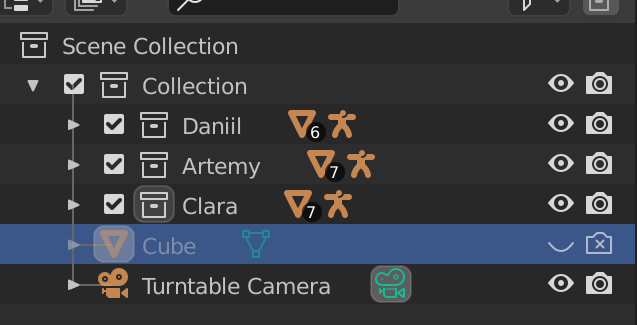
Make sure the colored cube is hidden in both the viewport and render by clicking on the funnel icon at the top right of the Scene Collection, and selecting the camera icon in the restriction toggle section. Then, toggle both of these views off for the cube.
